Self-Service Financial Aid is designed to simplify the financial aid process. Using this portal, you can monitor the status of your financial aid package, track outstanding items, view and accept your awards, and more. If you have any questions regarding the Self-Service Financial Aid Portal that are not answered below, please contact Student Financial Services at sfs@redlands.edu or (909) 748-8047.
Reference Guide
Self-Service can be accessed through the MyRedlands portal by selecting “Self-Service (Student Planning)” from the menu bar or directly at selfservice.redlands.edu. You will use the same credentials you use for your Redlands e-mail and MyRedlands accounts, however your username will be FIRST_LAST without the @redlands.edu.
Status Update
The information in this box will change based on your current status in the checklist.
Checklist
The checklist is designed to walk you through the important steps of the financial aid process. Completed steps are green and outstanding steps are yellow. Steps that require other steps in the checklist to be completed first will remain grey until the required steps are completed.
- Submit a Free Application for Federal Student Aid (FAFSA) – this step is completed when a FAFSA for the appropriate academic year is submitted at fafsa.ed.gov. If you believe you have already completed this step, it is possible that our office does not have your Social Security Number on file or that the a FAFSA for a different academic year was completed.
- Complete required documents – in some cases, additional documentation is required to prepare your financial aid award. Please visit the “Required Documents” page to review outstanding items.
- Your application is being reviewed by Student Financial Services – the SFS office has everything it needs to prepare your financial aid award. For College of Arts and Sciences students, award letters for the coming academic year are initially sent in Spring, and then within 1-2 weeks of receipt of the FAFSA. For School of Business and School of Education students, award letters are initially sent 30 days prior to the start of the academic year, and then within 1-2 weeks of receipt of the FAFSA.
- Review and accept your Financial Aid Award Package* – your financial aid award has been prepared and is ready for review. All grants and scholarships are auto-accepted, however loans should be accepted or declined as appropriate.
- Complete Direct Loan Entrance Counseling – this checklist item only generates when you have been awarded a Direct Subsidized or Unsubsidized Loan. If you are choosing to reject these awards, the checklist item may continue to remain active but does not need to be completed.
- Sign Direct Loan Master Promissory Note - this checklist item only generates when you have been awarded a Direct Subsidized or Unsubsidized Loan. If you are choosing to reject these awards, the checklist item may continue to remain active but does not need to be completed.
- Review and sign your financial aid award letter* – Once you have reviewed your awards and accepted or declined any loans offered to you, please accept or decline your award letter.
*Please note, if no action is taken on the award package and award letter steps, Student Financial Services will assume that all awards are accepted and proceed with disbursing your financial aid.
Student Financial Services Coordinator
This section includes contact information for your Student Financial Services Coordinator. Please do not hesitate to reach out with any questions regarding your awards or the financial aid process.
Helpful Links
This section includes helpful links various sites outside of the Self-Service portal that will assist you in understanding your financial aid and the process.
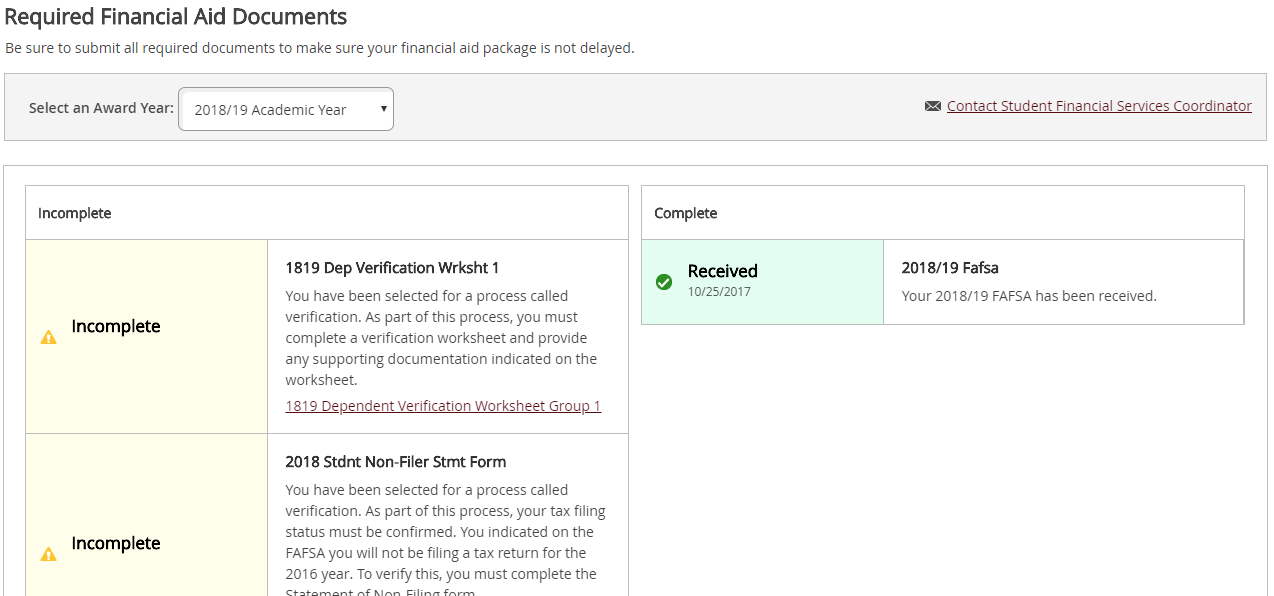
In some cases, additional documentation is required to prepare your financial aid award. Please review and complete any items in the “Incomplete” list on this page for your financial aid award to be prepared. We recommend all requested documents be submitted via the Student Financial Services Online File Submission webpage for fastest processing times. If you prefer, you may fax documents to 909-335-5399 or mail to: Student Financial Services 1200 E. Colton Ave Redlands, CA 92373.
 |
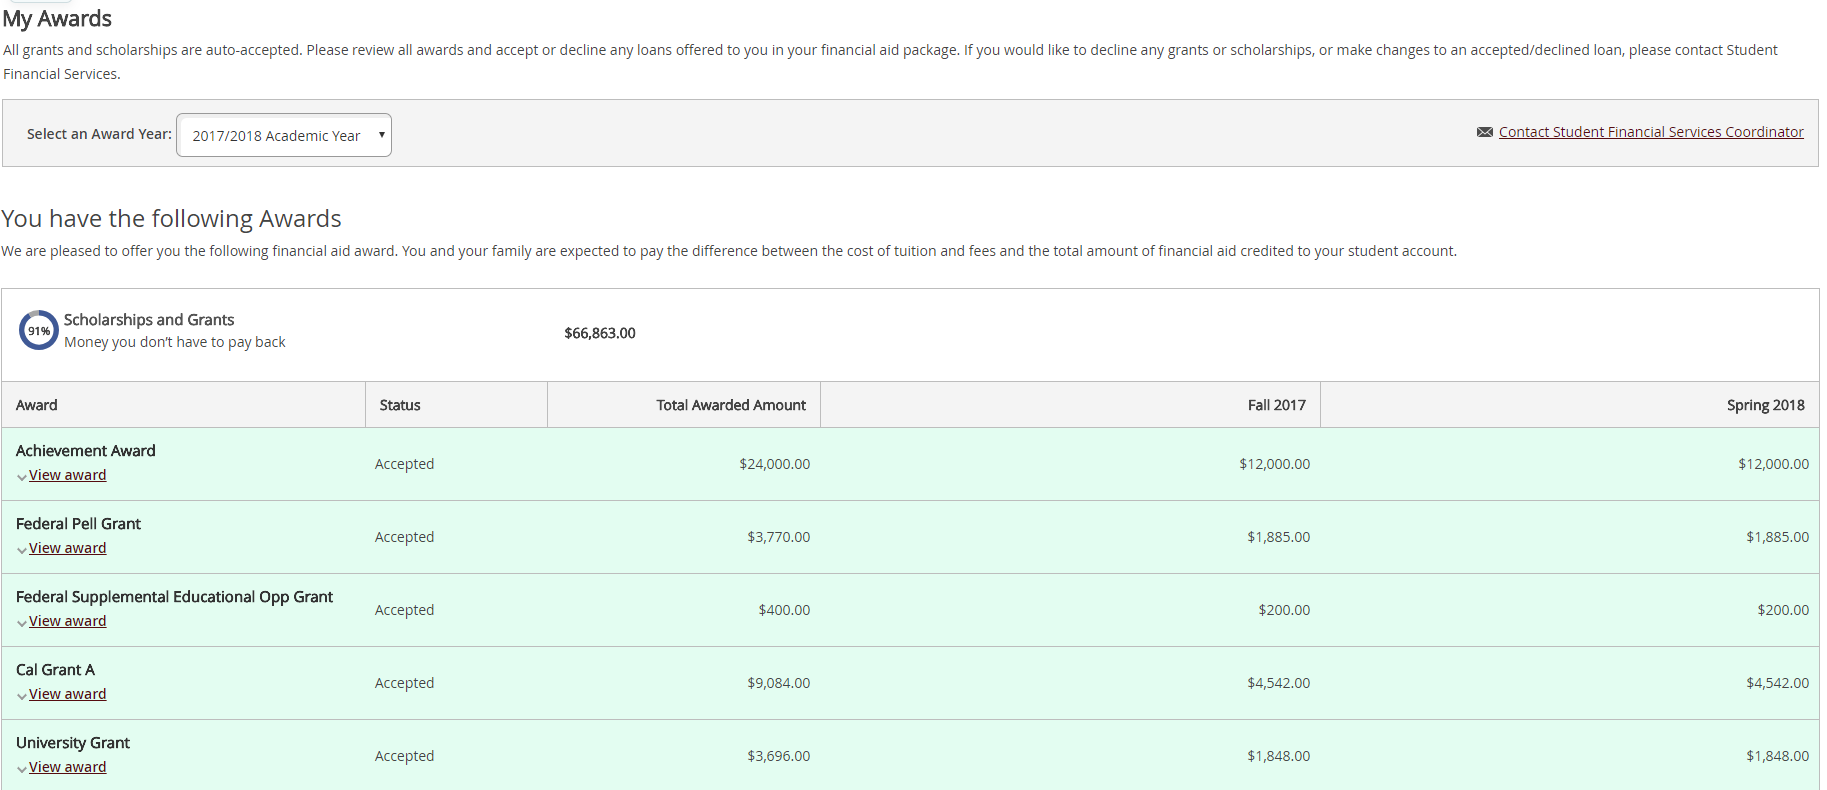
The My Awards page displays all awards offered to you for the specified award year. All grants and scholarships are auto-accepted.
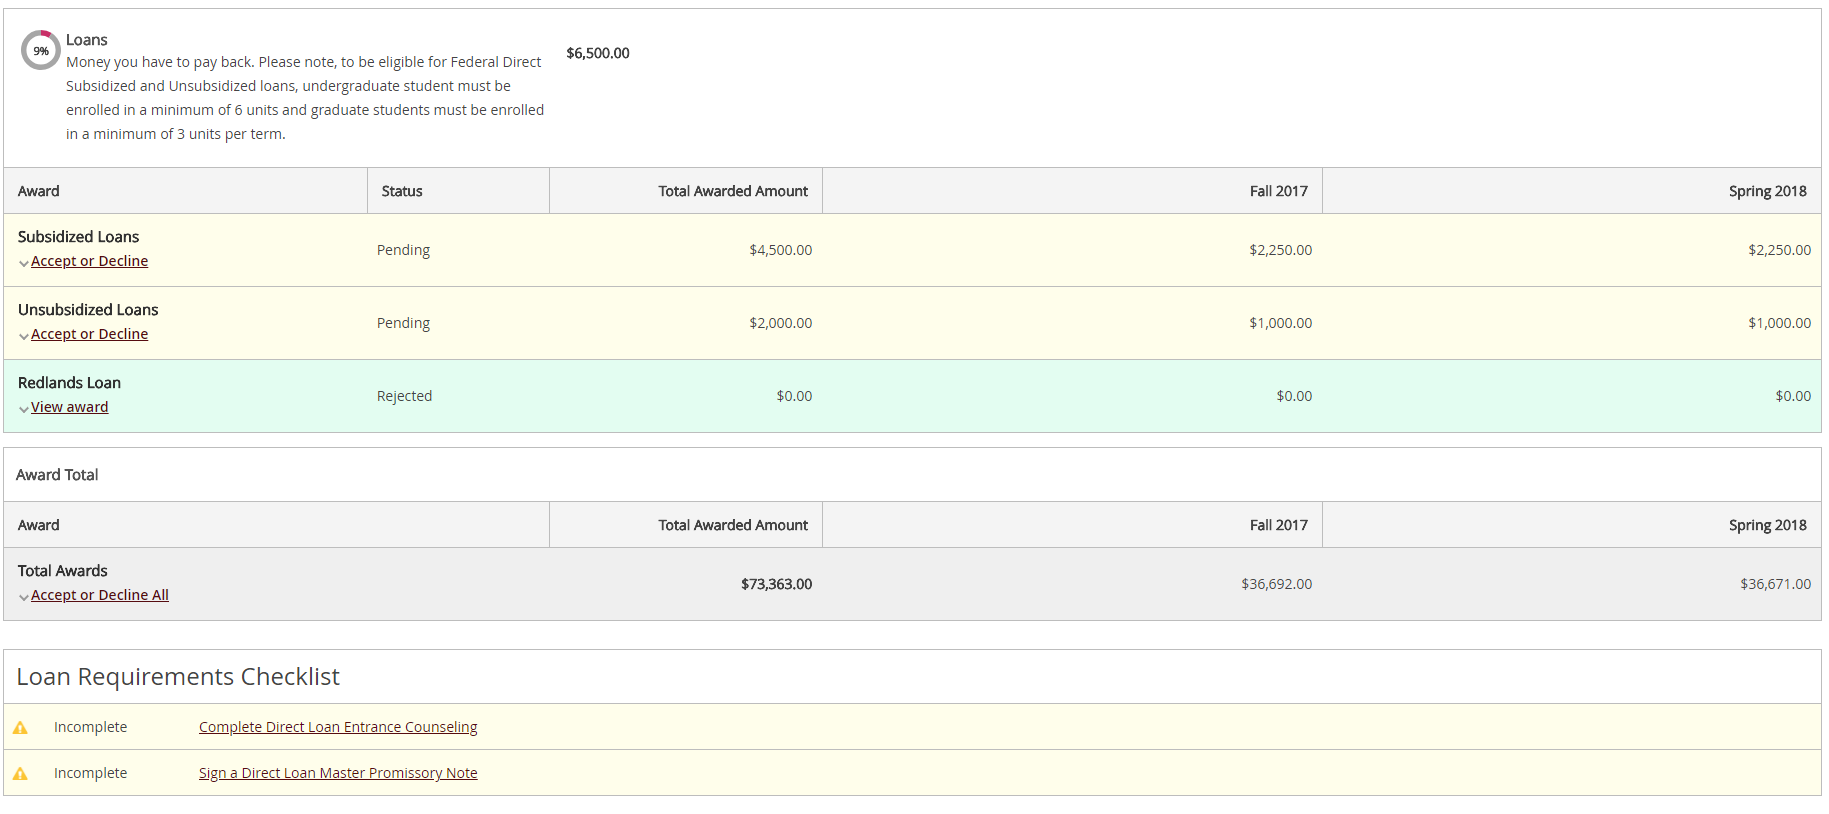
Any loans offered to you should be reviewed and either accepted or denied. You may also reduce the per term amount prior to accepting them, however you may not increase your loans beyond the original per term award amount. If you want to make changes to your loans after you have accepted or rejected them, you must contact your Student Financial Services Coordinator.
If your Parent applied for a Federal Direct Parent PLUS Loan or if you applied for a Federal Direct Graduate PLUS loan, these are auto-accepted as well and cannot be updated in Self-Service.
 |
 |
You can use this page to report any awards you are receiving from outside agencies, for example scholarships or tuition assistance. Please send any supporting documentation for your outside scholarship to your Student Financial Services Coordinator or sfs@redlands.edu.
|
Once you have accepted or declined your financial aid awards, you can accept your finalized award letter here. You can also download a PDF of your current or previous award letters.
You can designate an individual as a proxy user in the Self-Service Portal. Designating a proxy user in Self-Service authorizes that person to access specific areas of the student’s educational record. This access can be granted, changed, or revoked at any time by the student via the Self-Service portal. Proxy Users in the Self-Service portal are replacing the current Authorized User access in RedlandsPay. For more information on Proxy users, please visit our Proxy FAQs page.
There are two ways to view student account information:
- Account Summary
- Account Activity
Account Summary: Allows you to view a summary of all transaction in all terms.
 |
- "Amount Past Due" is the total of all terms with a balance owed and a payment due date in the past.
- "Total Amount Due" is the total of all terms with a balance owed. This does not include terms with a credit balance and may not be indicative of the actual amount payable to the University.
- "Total Account Balance" is the total of all term balances. This is the total amount payable to the University.
- Select Account Activity to view you account activity by term.
- Below the Overview, is a summary of total balance by term. Click on a term to view the account activity for that term.
 |
The Account Summary page also includes 2 helpful links:
 |
- Payment and Payment Plans - Select this link to go to the "Payments and Payment Plans" page in Self-Service. From this page, you may launch the payment processor.
- View/Add Proxy Access - Select this link to go to the "View/Add Proxy Access" page in Self-Service. On this page you may add new proxy users or change or remove existing proxy user access.
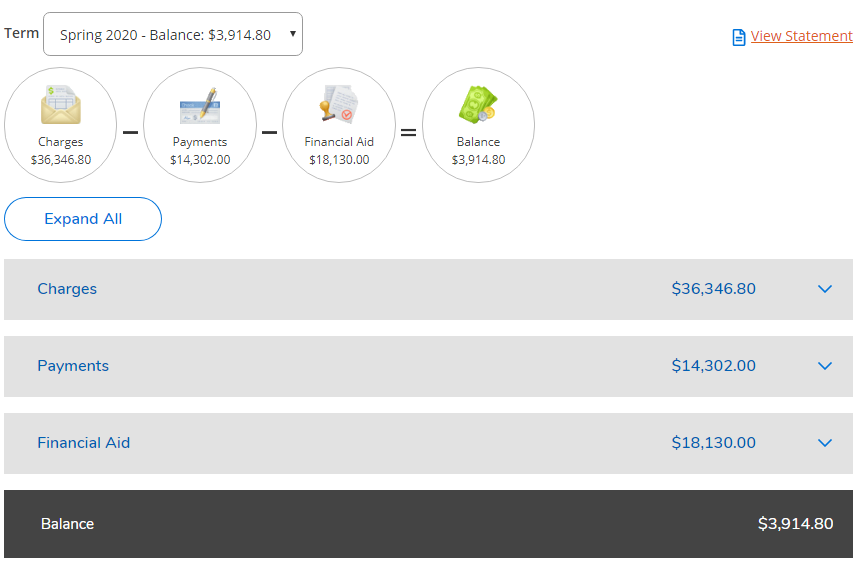
The Account Activity page allows you to view a detail of all transaction and categories in the selected term.
- Select "View Statement" to generate a PDF version of your term statement. (If you need a chronological statement and/or a statement that shows more than one term, please contact Student Financial Services.)
- Use the "Term" dropdown menu to select the appropriate term.
- Select "Expand All" or "Collapse All" to view or hide detail. Alternatively, click on the header for each category to view or hide detail for that category.
- The account balance for the term is displayed in the Term dropdown menu at the bottom of the page below all categories.
 |
Go to the "Payments and Payment Plans" page in the navigation menu to make a payment on your account or to set up or view existing payment plans.
Payments & Payment Plans shows a summary of the amount payable to the University.
Select the "Proceed to Processor" button to launch our payment processor in a new tab or window. You may return to the current tab or window at any time.
 |
The first time you launch our payment processor, you will be asked to confirm demographic information and to set up a PIN and security questions. If any updates to this information are made with the University, please also update your demographic information with our payment processor.
The PIN and security questions are used to verify your information over the phone should you need assistance from our payment servicer.


